
is for you today. Many people dream of creating a website under their own name to present themselves to others in a digital way. Also, each person creates a website for one reason or another. But we common people can't do that if we want to. Because one is lack money and another is lack of coding knowledge. But what's the point of being a Google uncle? Google Mama has been providing various services to people like us till now. One of them is the subject of my topic today.
I will discuss the matter of creating a website for yourself for free through a service by Google uncle. Many of you may have thought that I am talking about Google's website-building service BlogSpot. Hey no bro, I am talking about google uncle's website-building service google Sites.
What is Google Sites?
In fact, Google Sites is a means of creating a website. You can create a simple website for yourself with it if you want. But there are many limitations to this. You can't do things your way. Here you can customize it only according to certain formats provided by Google. But it is a great and secure medium for storing and presenting documents in modern times.
How to create a website through Google Sites:
Hope you get a rough idea of what Google Sites is. Still, if you are interested in knowing more about this then why not Google Mama is there. You can know more details about it by punching it or searching it. Knowing about it, this time let's see how to create a website through it.
First of all, it goes without saying that you need to have a Gmail account to create a site here. This is for creating the site sites. google. com click on the link. Then you will see a login page, enter your Gmail ID and password and login.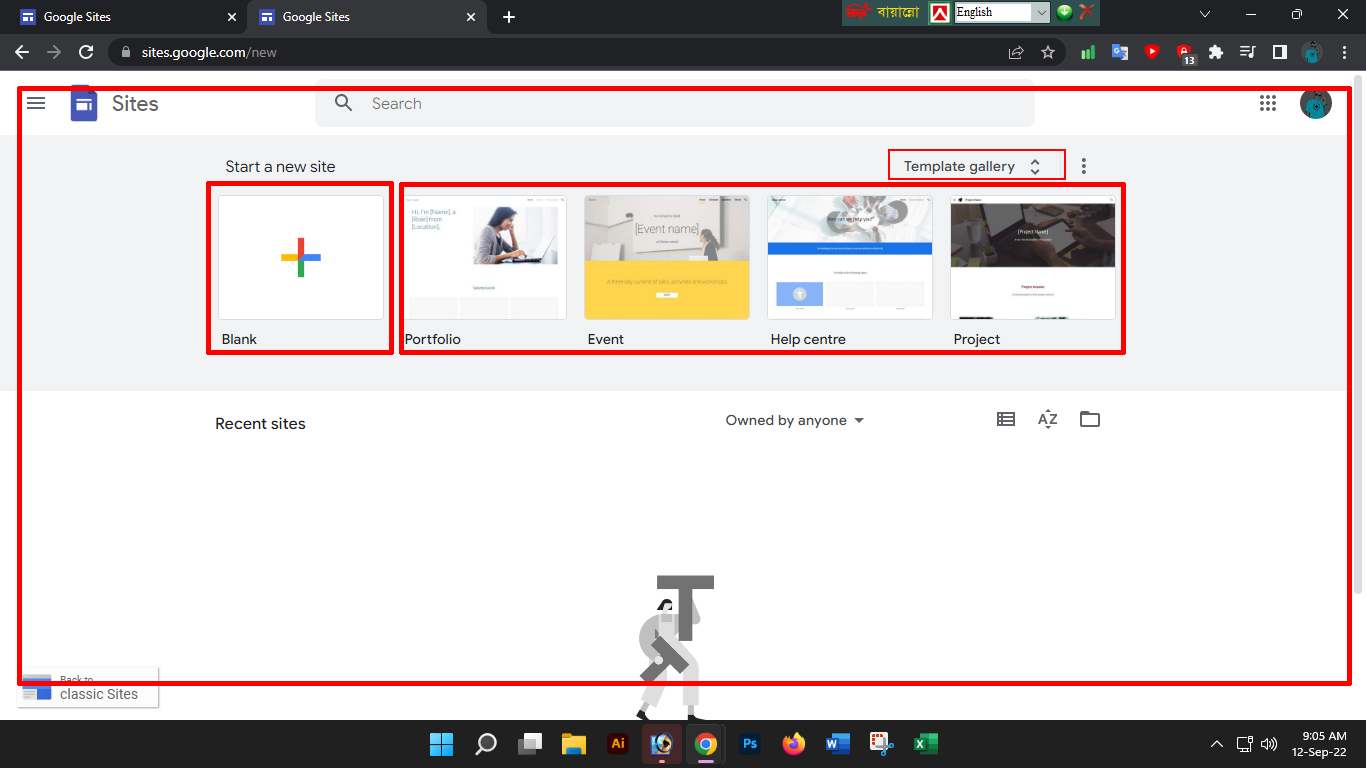
After login, you will see as above screenshot. From here this time you click on the part marked Blank (+) to create the webpage. Or if you want to use templates created according to different categories from here, then click on a template of your choice from here.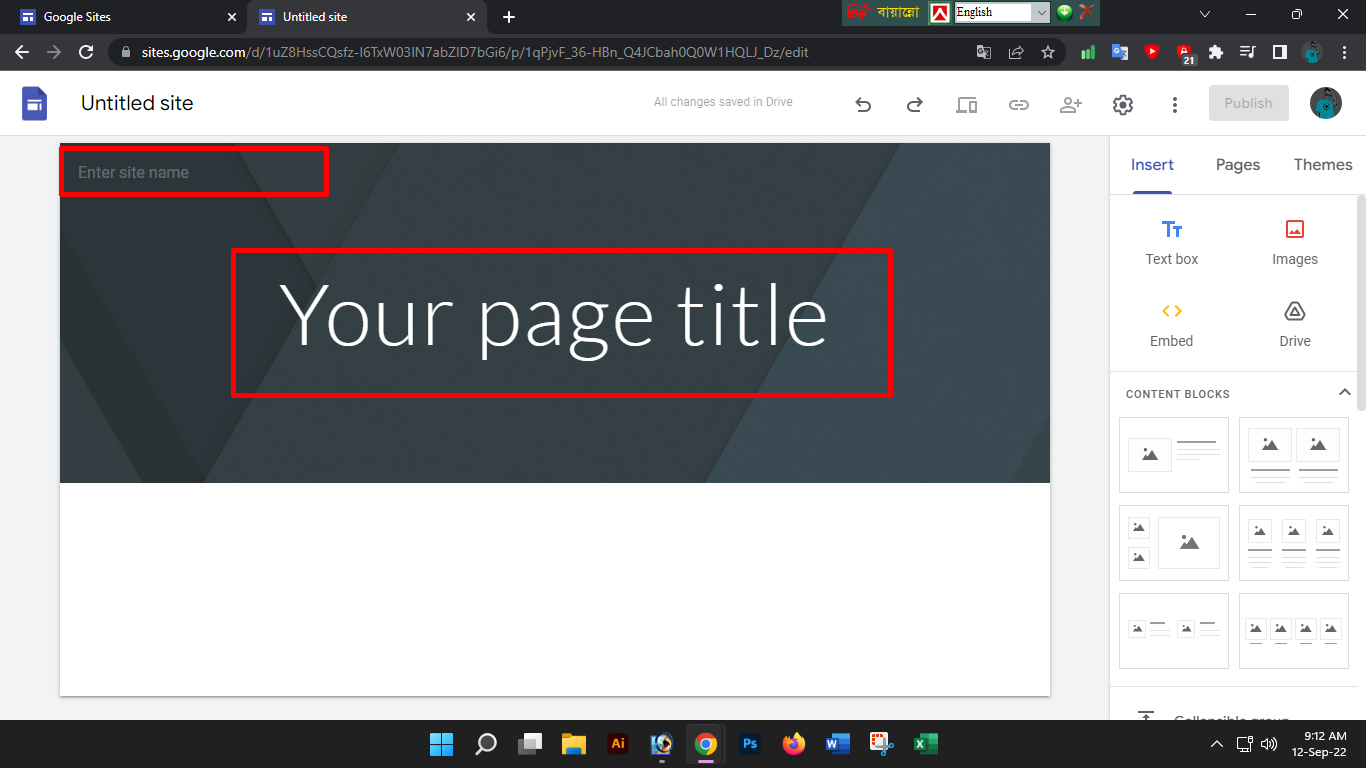
I clicked on Blank here. This time enter the name of the site in place of entering Site Name according to your choice and give the title of your site in place of Your Page Title.
How to add Text Box and Images:
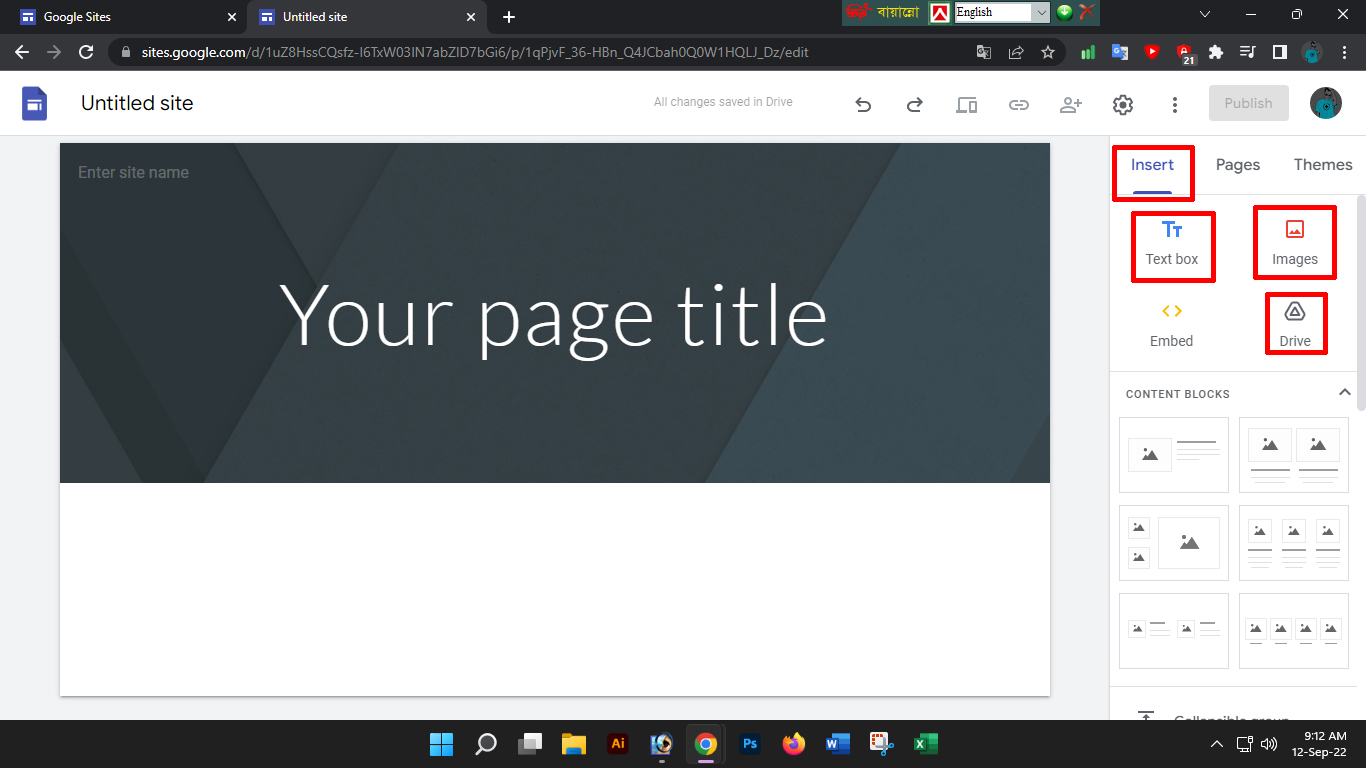
You will definitely need some text or images to make the site look good. To place them here, you can take the Text Box to add text from the Insert tab on the left side. And you can take Images to add pictures. If you want, you can add pictures from your computer as well as pictures from Google Drive. In writing, you can edit headings, paragraphs, bold, italics, links, bullet points, etc. through the text panel.
Setting the Layout:
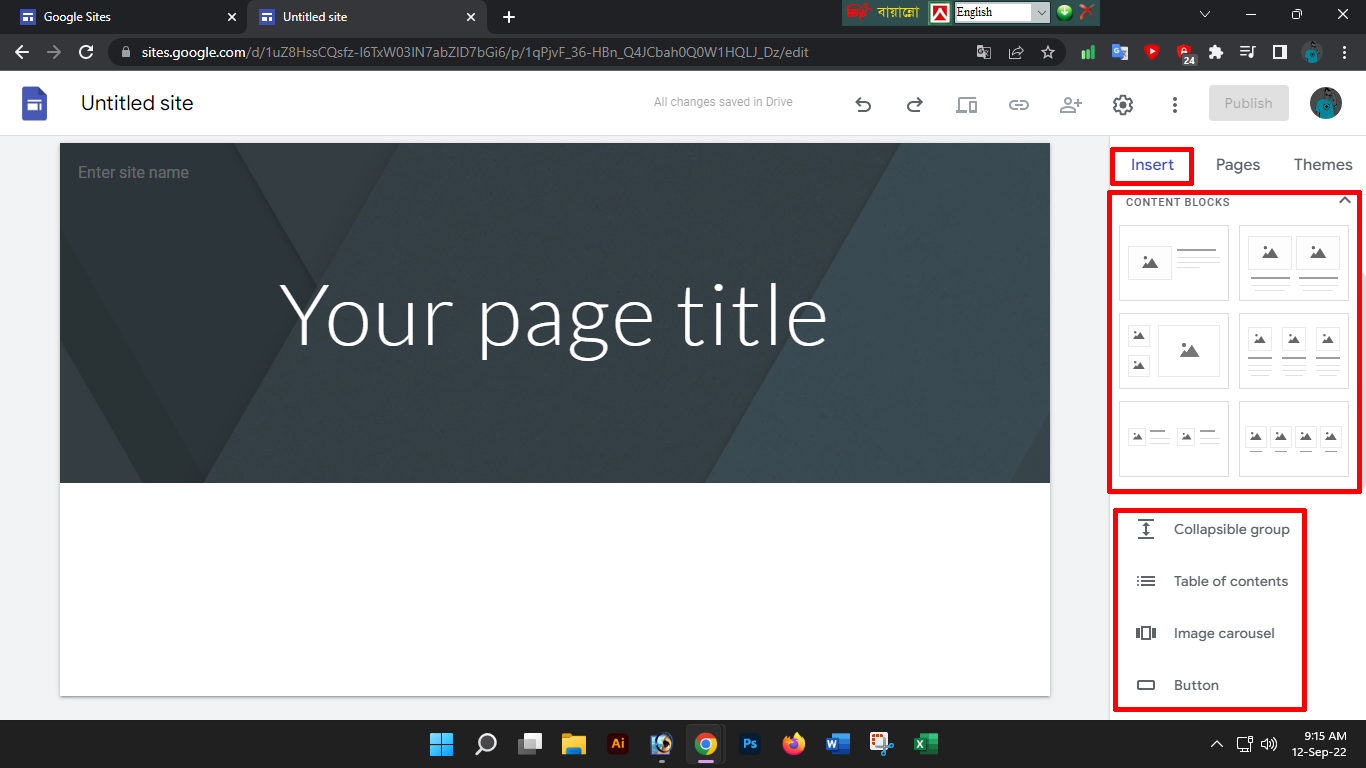
Here you will see six types of layouts. Choose a layout of your choice. Among these layouts you can add collapsible text, table of contents, image carousel, button, divider, placeholder, YouTube video, Google Maps location, Docs, Sheets, Slides as you wish.
Add a new page:
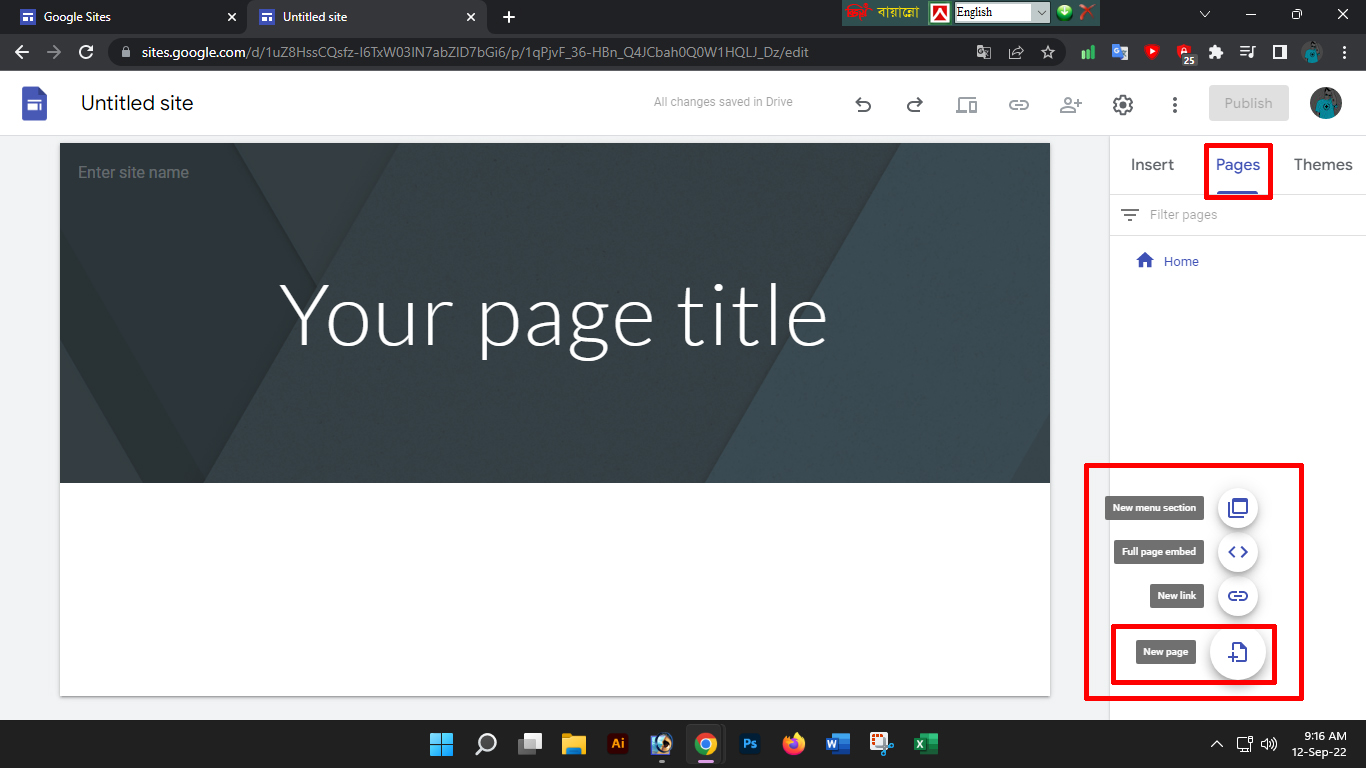
By default, only one page i.e. homepage is created while creating your website. If you want to create or add more pages, click on the Page tab from the left side panel. Then look down and click on the + button with a plus sign and click on the New Page button. Then create the page with the name you want to create the page. Like About Us, Contact Us, etc.
Themes:
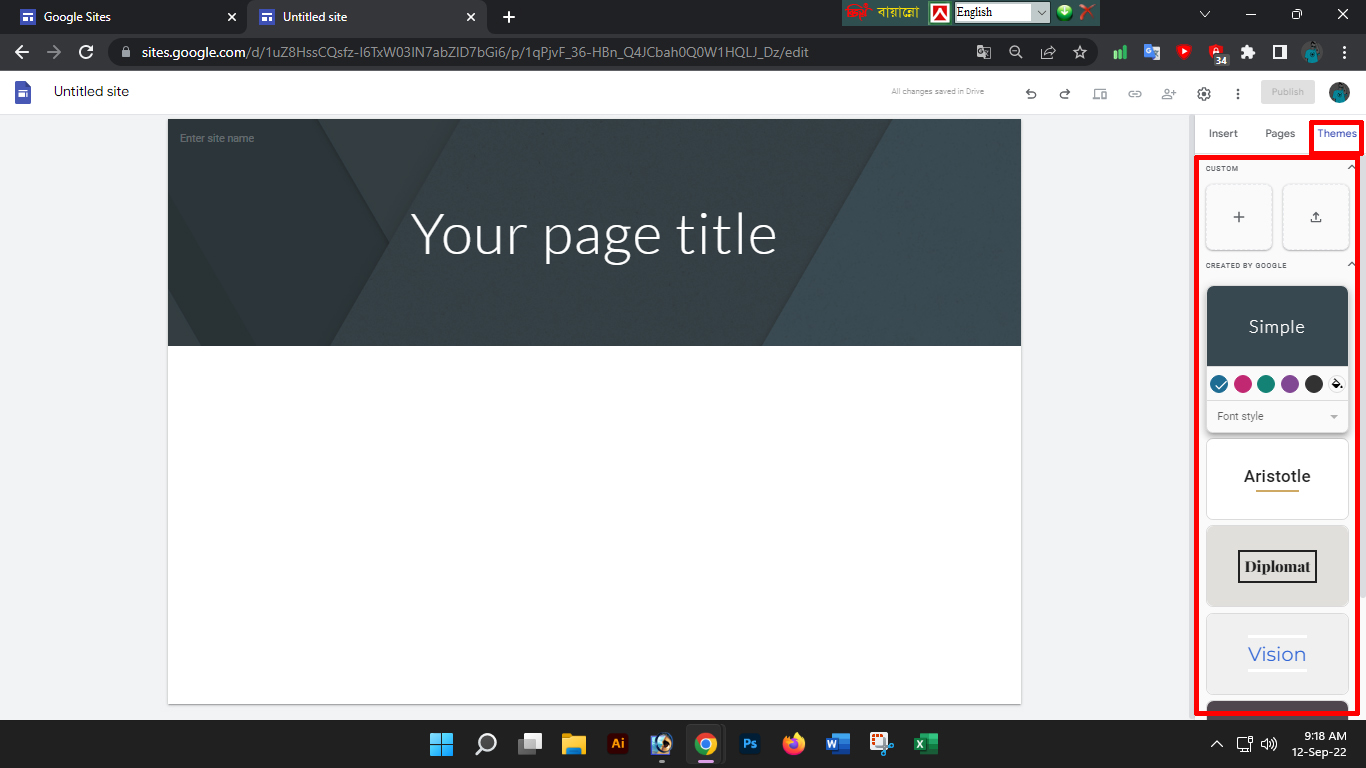
Here you can set or change the theme to your liking. It has some limitations though. But you can change the color, font, page style, etc.
Customize Navigation:
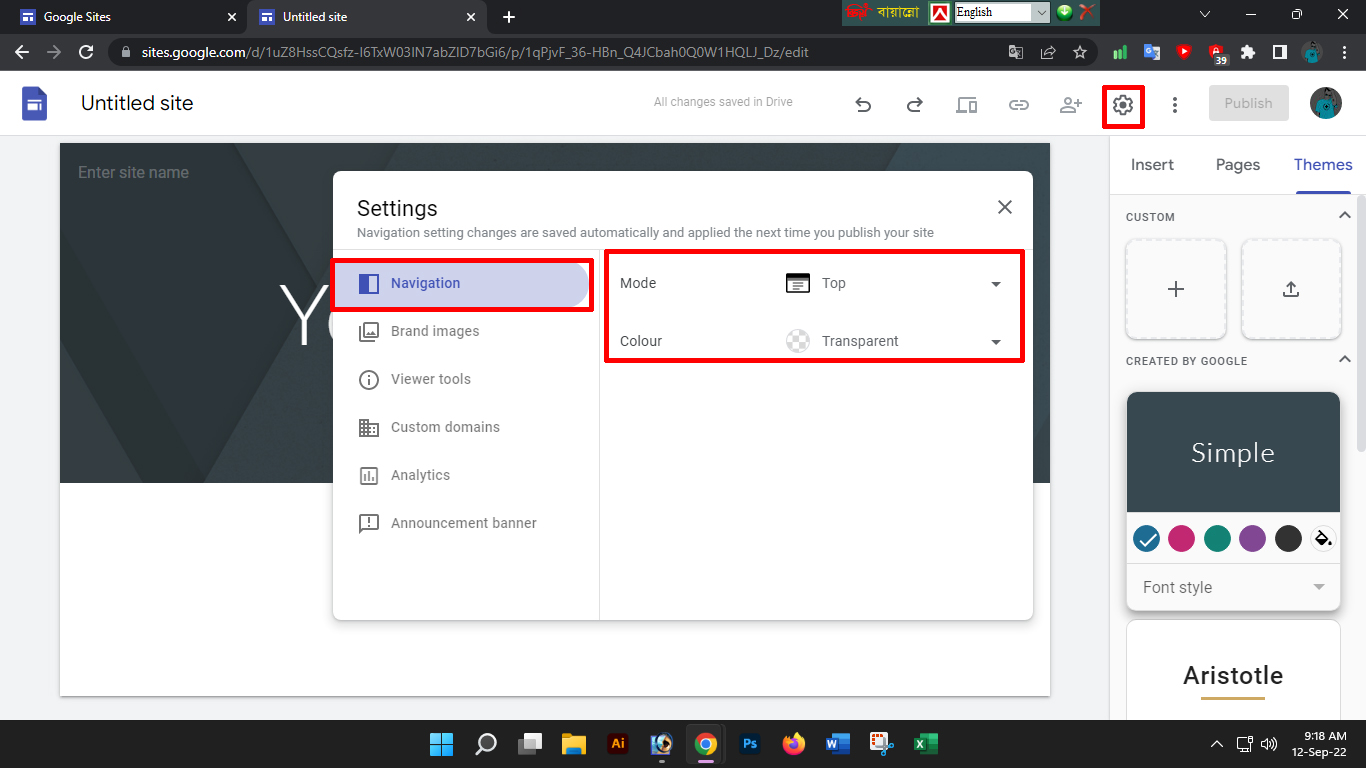
By default, the navigation pane will be at the top of the page and with transparent color. You can change it if you want. For this, you need to click on the Settings icon. Then you can change Mode and Color by selecting the Navigation option from there.
Header Type Change:
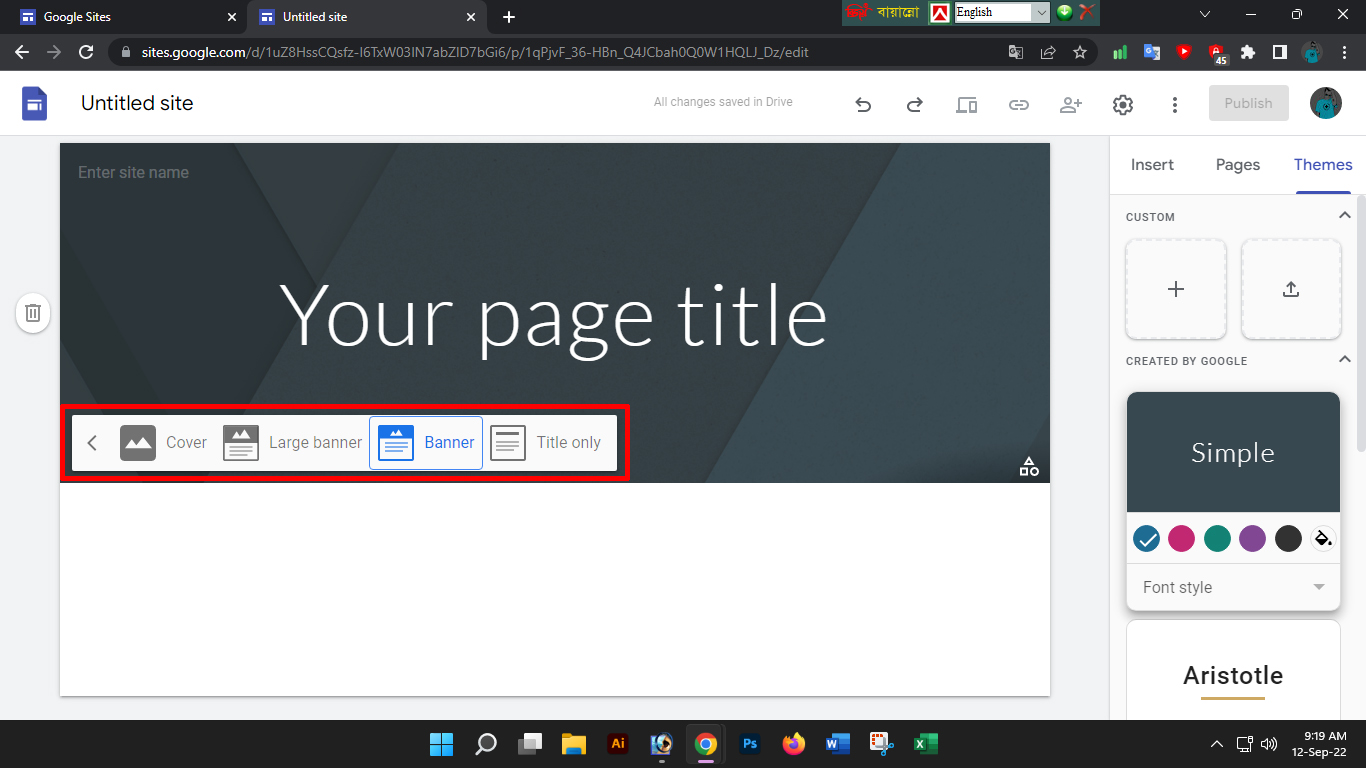
By default, Header will be your title. You can set it as the cover photo, big banner, and title if you want. To set any of these options hover your mouse over the title header and click the Header Type button. Then you can choose any option as per your wish.
Publish:
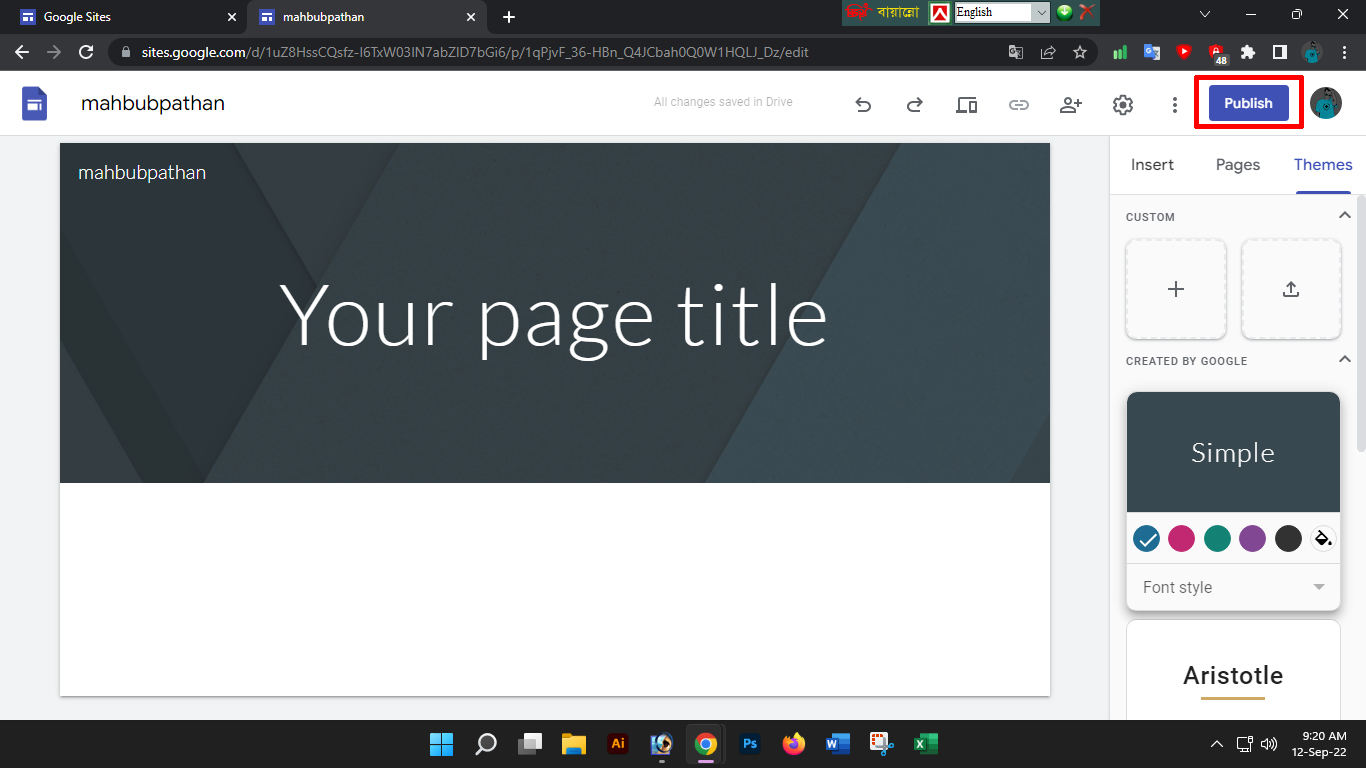
Finally, if you have arranged the entire website, then click on the Publish button on the top left side to make it live. When you click on that button, a new popup will appear.
Here you have to set your unique web address and then click on Publish button. And see your site is live. Now anyone can access your website. Here's a look at my demo website built with Google Sitessites.google.com/view/mahbubpathanClick on the link. Note that you can also use custom domains here if you want.
And this was basically my topic today about creating a website initially with Google Sites. I have discussed the very basics here. There are still many types of advanced tasks through which you can create a website with Google Sites in a more beautiful way. Since I have covered the basics here, if you want a step-by-step detailed topic on its entirety, I will cover that later.

